DIY Keratin Treatment At Home
Frizzy, dull, damaged hair – nobody wants it. Unfortunately, hair problems are becoming very common these days. Blame it on your daily routine, stress or the harsh chemical/heating treatments – everything has an impact on your hair.
Want soft, shiny and beautiful hair? You can go for a smoothing treatment. While a lot of people like to get it done from a salon, not everyone has the time or money for it. So, why not try it at home! In this article, we have presented a step-by-step guide to help you do your own at-home DIY Keratin Treatment. Let us first know what exactly it is.
Keep on reading!
What is a Keratin Treatment?
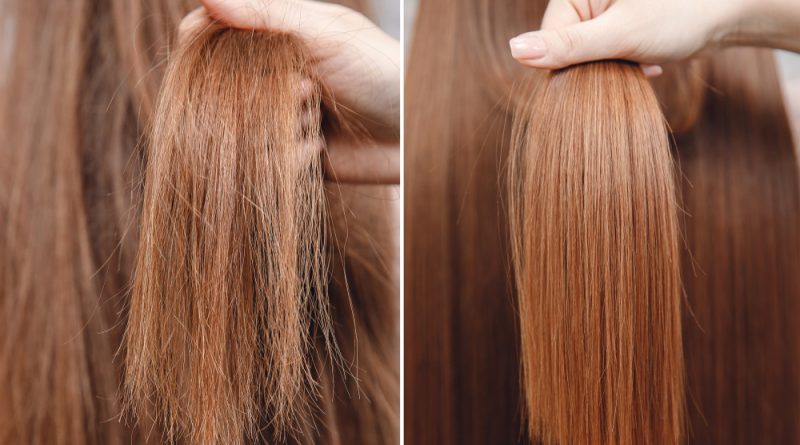
Keratin Treatment is a chemical-free way of rebuilding hair by locking the lost proteins in your hair strands. It helps to soften the hair, adds shine and moisture to your locks, eliminates frizz and gives your hair a new identity. It is a smoothing treatment that results in a complete transformation of your hair.
How to do Keratin Treatment at Home in 7 Steps
If you’re planning to do keratin treatment at the comfort of your home, here is a step-by-step guide for you. Follow these below 7 steps to get frizz-free, smooth, salon-like hair. Note that the procedure might differ depending on the product you choose – read the instructions carefully before using it.
Helpful Tip: When doing this treatment for the first time, start with a small portion of your hair. Check how your hair reacts to the product; next time, you can try it on your entire hair.
1. Wash your hair
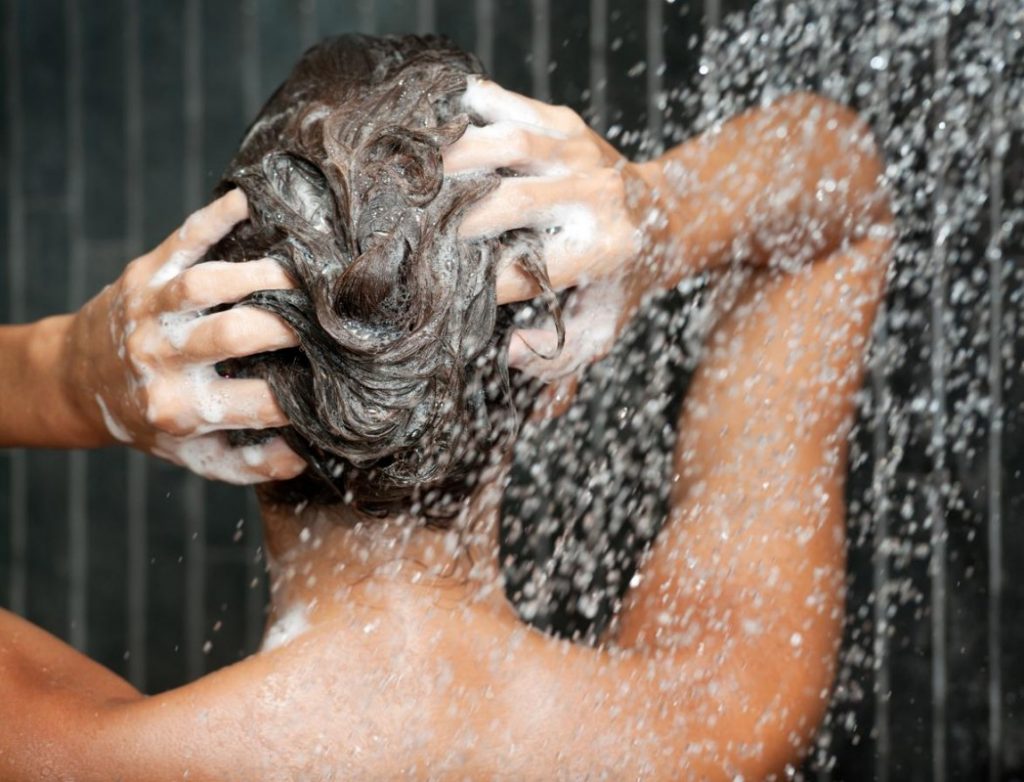
Before applying the keratin treatment, you must first wash your hair thoroughly with a good keratin shampoo. Massage your hair with the shampoo for a few minutes till it starts to lather. Then rinse it out with water. Now, wash your hair once again. If you have very curly hair, you can wash thrice.
Note: Do not use a conditioner as it may reduce its effect. Make sure your hair is perfectly clean before you move on to the next step.
TRESemme Keratin Smooth Shampoo is considered to be one of the best keratin shampoos for that purpose.
2. Blow-dry your hair
After washing your hair, gently dry it with the help of a blow-dryer. Run your fingers through the hair while drying to check the level of dampness. Some keratin treatment products require your hair to have little moisture (10%-15%); while some products may require fully dry hair.

3. Apply the product in your hair
Once your hair is dry, divide it into different sections (4 or more depending on the volume) using a fine comb and clips. Now, start applying the treatment by coating one section at a time with a colour brush. Begin with a small amount and slowly increase the quantity until your hair is fully-coated from root to tips (Leave one inch from the scalp).
Note: Every keratin treatment comes with precise instructions on how to use the product. Make sure that you read them carefully before applying the product. Follow all the instructions and safety precautions mentioned on the label.
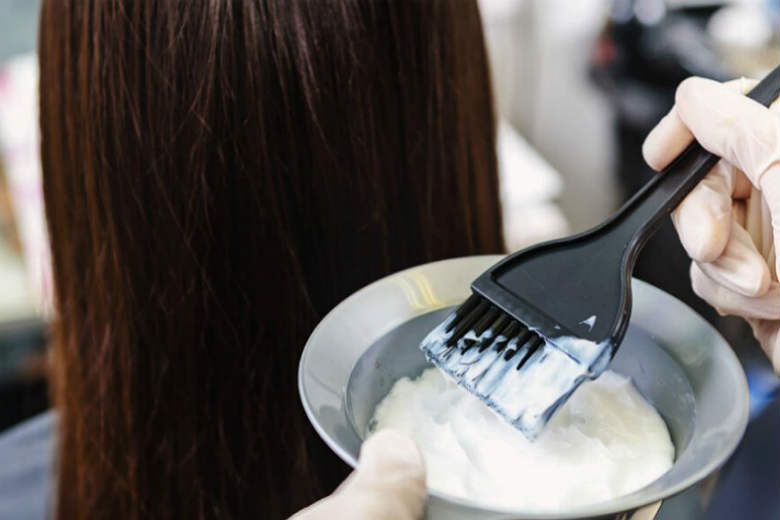
4. Let it sit for 30 minutes
After applying the treatment, gently comb your hair with a wide-toothed comb so that it absorbs the mixture. Then, cover your entire hair with a shower cap and let it sit for at least 30 minutes (or more as per the directions). After that, wash it off with cold water for about 30 seconds.
Note: Alternatively, you can also leave your hair with the keratin on for 2-3 days before washing it. That would increase the lifespan of the treatment.
5. Blow-dry and Iron your hair
Before ironing, you first need to dry your hair using a hairbrush. Once the hair is fully dry, divide it into small sections and start ironing each section with a flat iron. This would lock the protein in your hair strands.
Note: While ironing, make sure that you set the right temperature for your hair. Straight, thin hair requires low heating; while curly and thicker hair needs a high temperature for ironing.
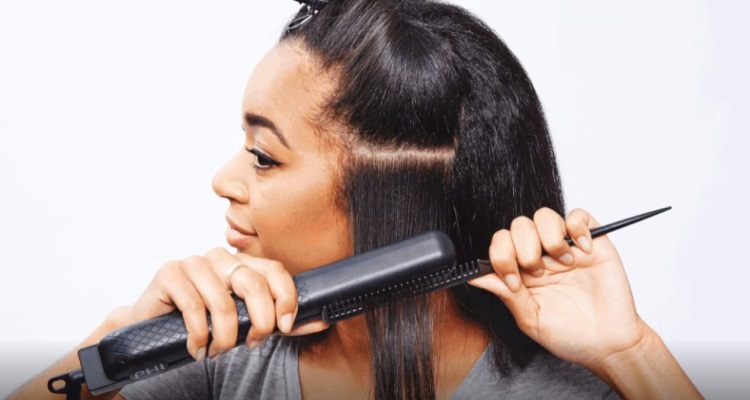
6. Wait for a day
After straightening the hair, wait for a day or two. That will give the mixture more time to absorb in your hair and perform its magic. Make sure that you leave your hair as it is and do not use any clips or put the hair behind your ears.
7. Wash your hair with shampoo and conditioner
Your hair is all set to get a new look. Wash it with warm water using a good quality shampoo and conditioner. Keep in mind that the shampoo should be free of sodium and sulphate as these can strip the straightening effect.
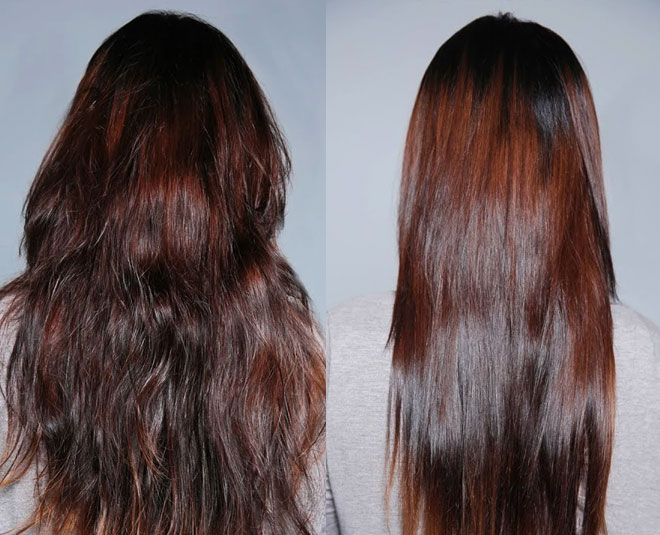
After shampooing, blow-dry your hair. You will get frizz-free, smooth, silky and straight hair.
Another shampoo that you can opt for is: Wella Spa Luxe Oil Keratin Protect Shampoo
Word of Caution
While carrying out the keratin treatment at your home, make sure that you wear hand gloves and use the product from a distance to prevent it from entering your eyes. You can also wear an ear loop mask if you are bothered by its fumes.
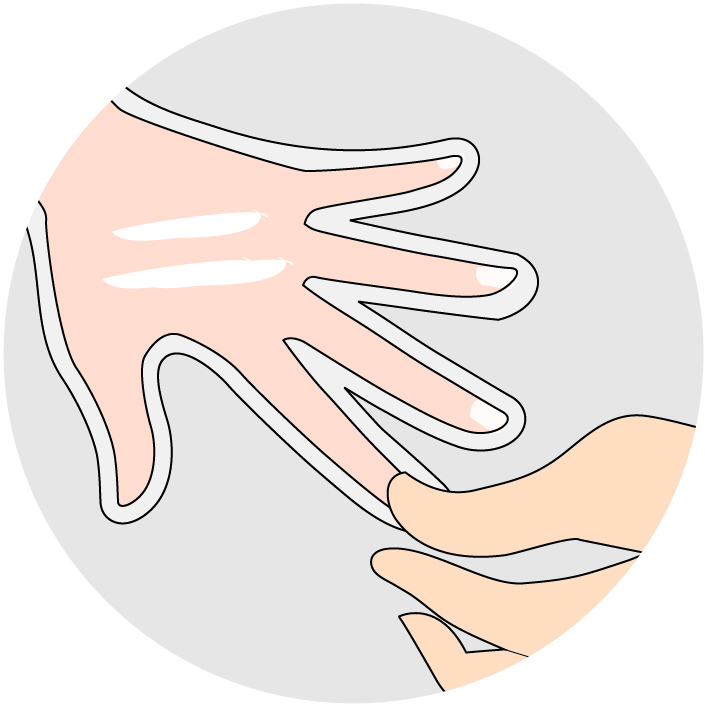
Use a well-ventilated room for conducting this experiment, especially if you’re using a product containing formaldehyde.
Give it a TRY!
Now that you have read the complete process of doing the keratin treatment, go & give it a try. It is WORTH IT. While we all have different hair types, this treatment brings phenomenal results in almost all cases.
If you want to save a good portion of your money, try it at your home. Then tell us in the comment section how it worked for you. We would love to hear!

